
By Bruce Mulmat
Disclaimer: we received this product for free from Corvus Belli
Having used the previous Infinity paint sets from Vallejo, I was incredibly excited that CB were creating new paint sets for N5 for both Pano and JSA. Even more exciting was the partnership with Army Painter, because I have heard good things about the new formulation of the Army Painter paints. When CB was nice enough to reach out and let me dig deep into the JSA paint set I was thrilled.

I have only used Army Painter paints back in 2017 and I was not impressed. The paint was incredibly thin and separated a ton. However i have heard that the new paints are significantly better and they are a great one stop shop for people trying to escape the clutches of GW hobby products.
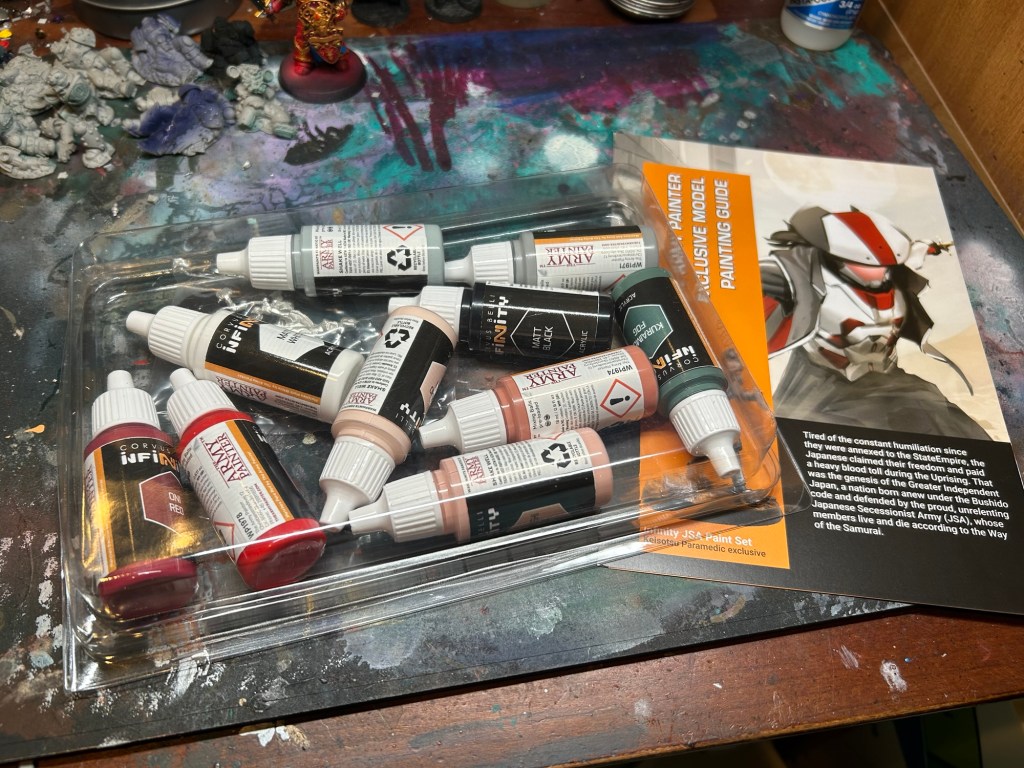
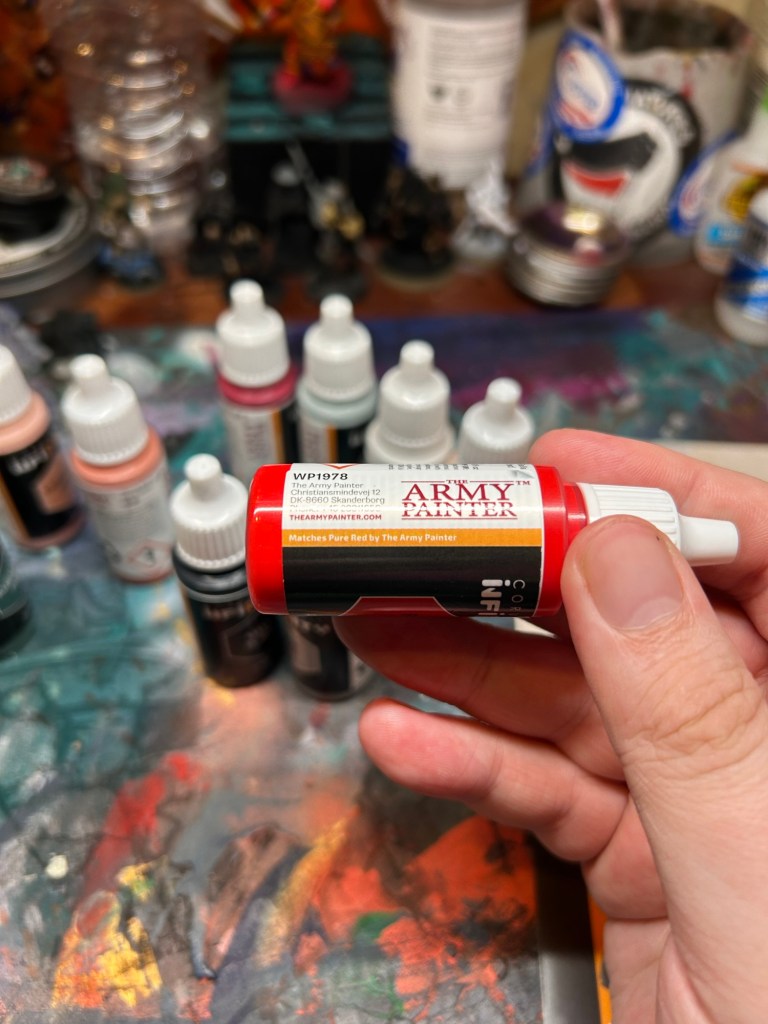
Inside the box was a plastic clam shell with the paints loose inside of it along with a baggie that has the JSA paramedic model. Outside of the clam pack is a small paper that has a basic tutorial of how to paint JSA in the style of the great infinity painters. Something that threw me off compared to the older Vallejo sets is these paints had JSA themed names. Thankfully Army Painter put their regular names on the side of the paint bottles. While I’m not thrilled with the Infinity names on the larger label it is nice that Army Painter did plan for people to replace these paints with their regular set or any color equivalents.
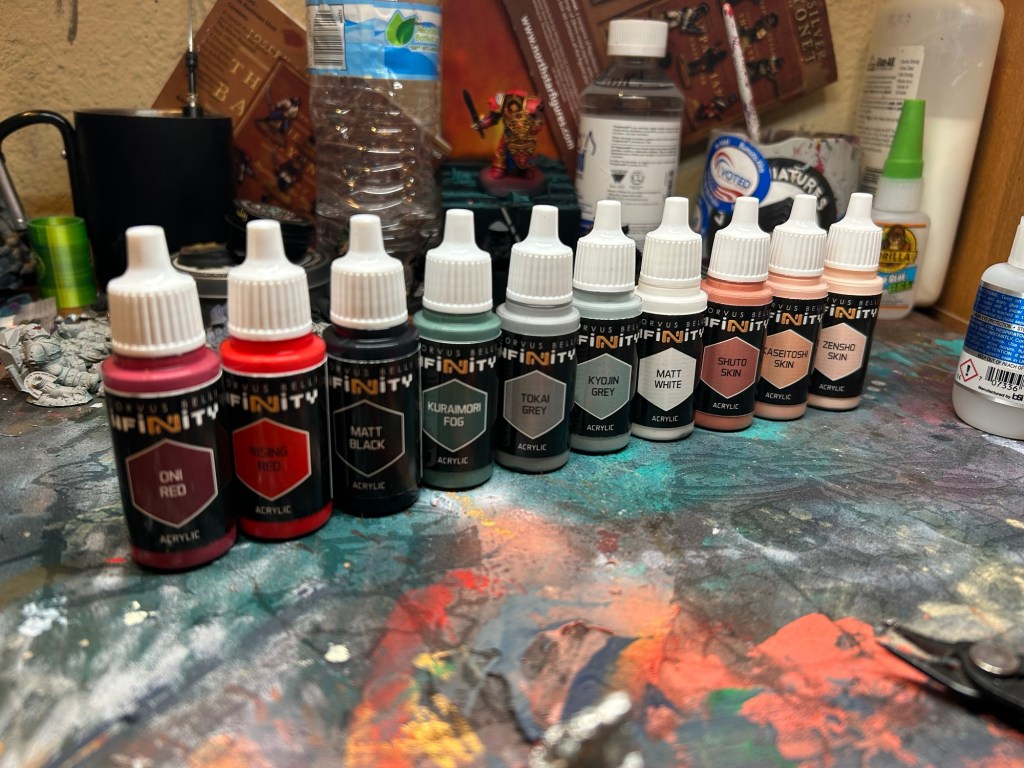
Overall I was very excited with the colors included, with plenty of whites and greys to get the whites done well along with Non Metallic Metal. Army Painter does great triads so I was curious to see how these paints are utilized together. Also a good number of flesh tones were included, which is great for new painters because painting flesh is often an issue for them.
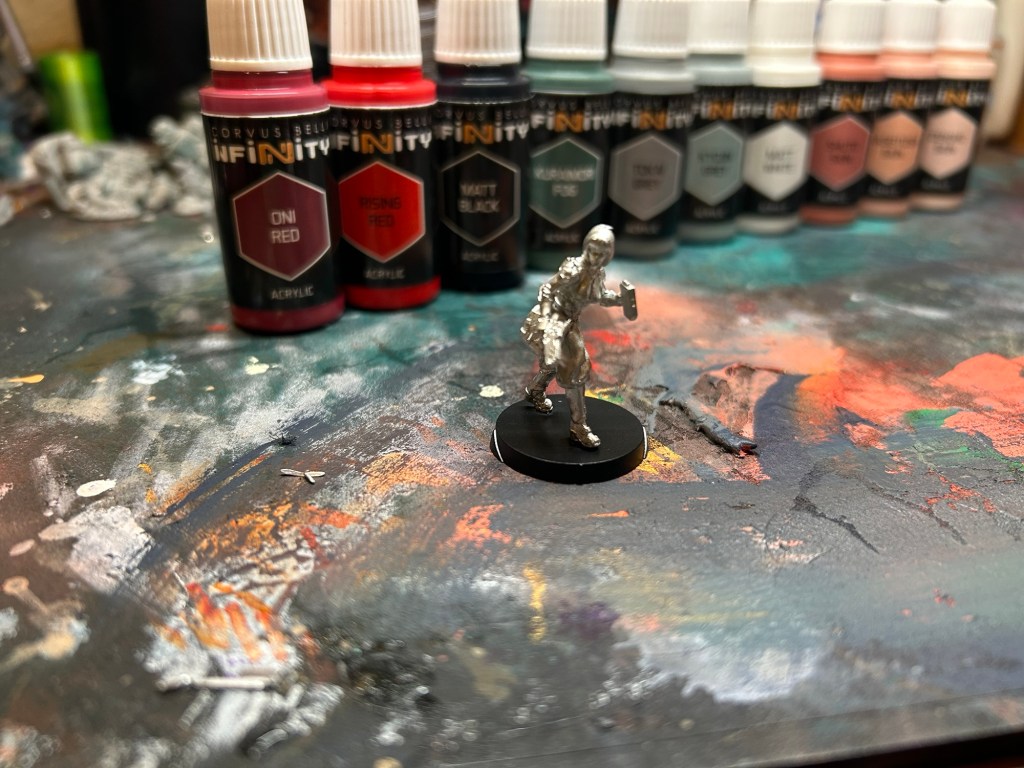
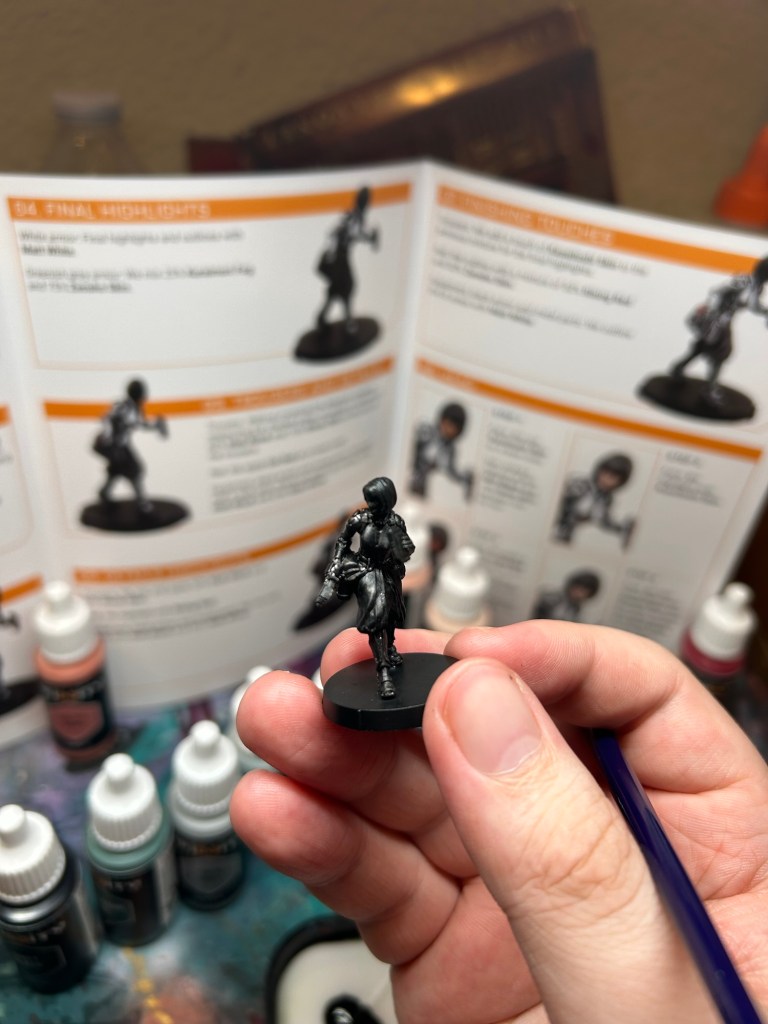
The paints look good, and I’m excited to put paint down on the model. Which brings me to the metal JSA paramedic sculpt. Just like any infinity model it comes with a LOF base and is unassembled. There is a torso piece along with two arms that need to be glued on. There was a fair amount of flash that needed to be cleaned up on the arms, but nothing some clippers and a knife can’t fix. If you’re more of a perfectionist than me, it might be a good idea to file down some of those areas as well.

In terms of assembling the model it was very easy, I used liquid glue(cyanoacrylate glue) and it worked great. Normally I use gorilla glue gel but I was worried about putting too much glue on the connection points and making a mess on the model.
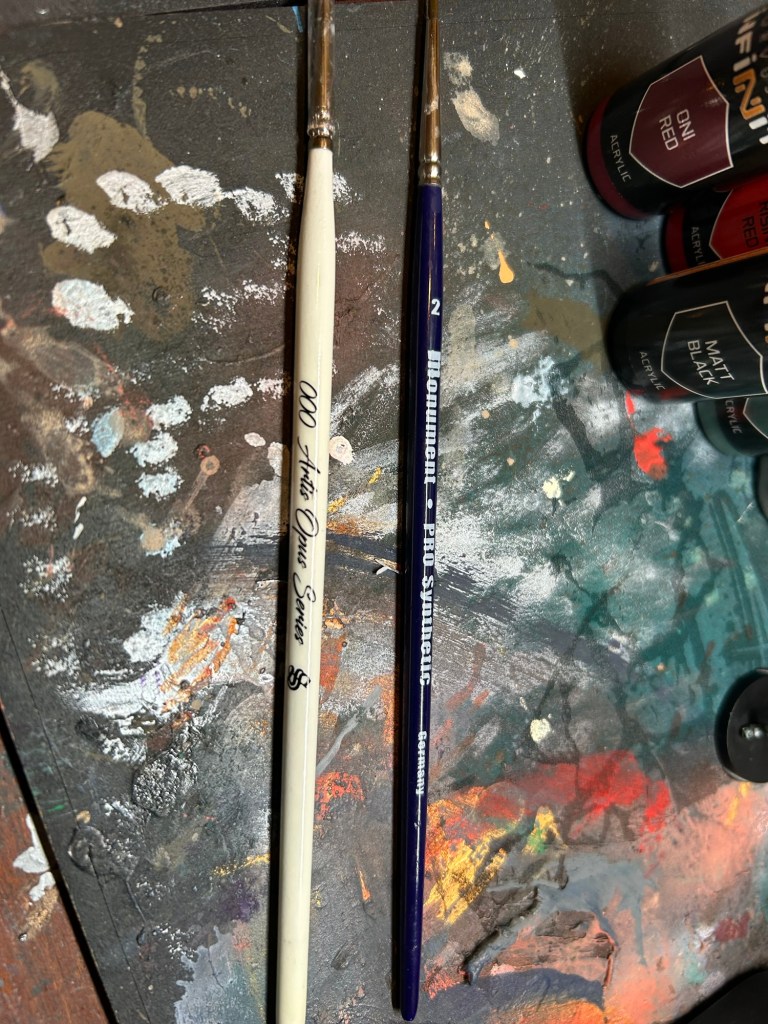
Now on to the main part of this project, the painting! I only used the paints included in the set so no fancy primers or rattle cans or airbrushes here. For most of the paint job I used a size 2 beat to shit brush, and for the face I did the final touches with a fancier brush size 000 brush. I started this paint job at 3:58pm, and we will see how long this tutorial takes me.
To start I put matte black on my wet palette and proceeded to apply the black all over the model.
I would not recommend painting in this way. Basecoat your model with a rattle can or airbrush primer, it will be much easier and you will get better coverage. In a pinch this method works but I’m not thrilled with it because the paint doesn’t adhere to the bare metal well and the coverage took me longer than I liked. Onto putting down armor basecoats!
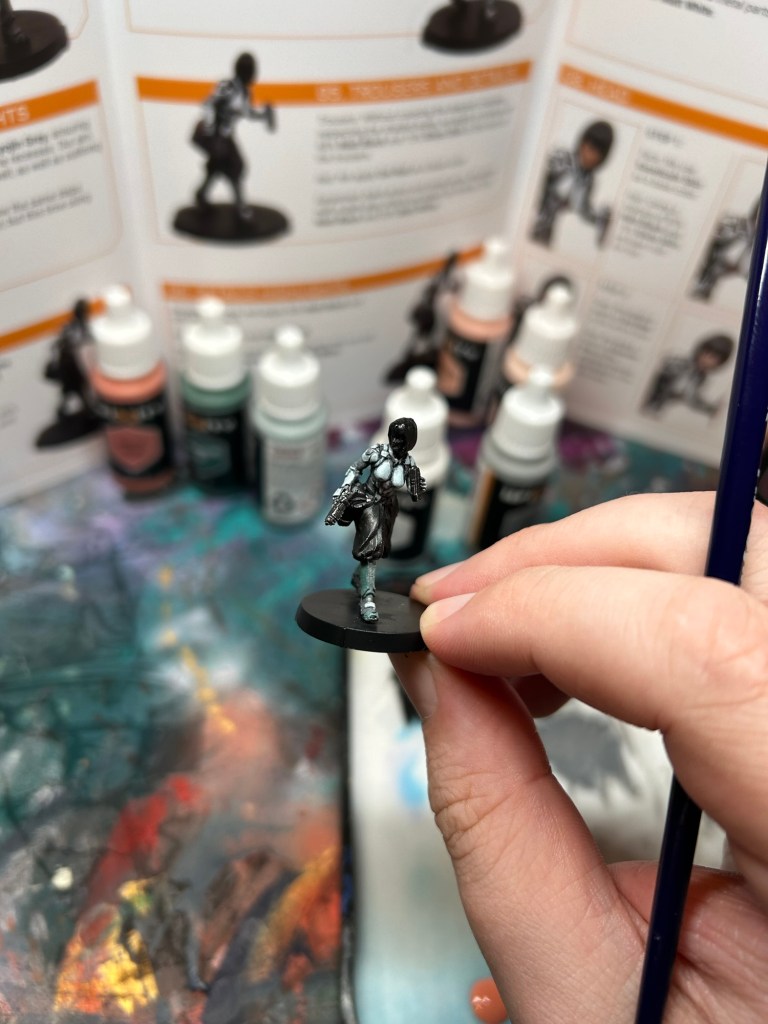
The start of the basecoats have you mix your black paint with your two base greys. I’m a competent painter so it was pretty easy to eyeball, but something I wish the tutorial booklet did was provide more specificity to the areas that should be “green grey” and “white” but I guess that’s up to the painter. Personally I would have just painted all the “hard” armor panels white and the “soft” armor green grey but to each their own. Going from dark to light you mix your greys together and finally end with extreme white highlights.
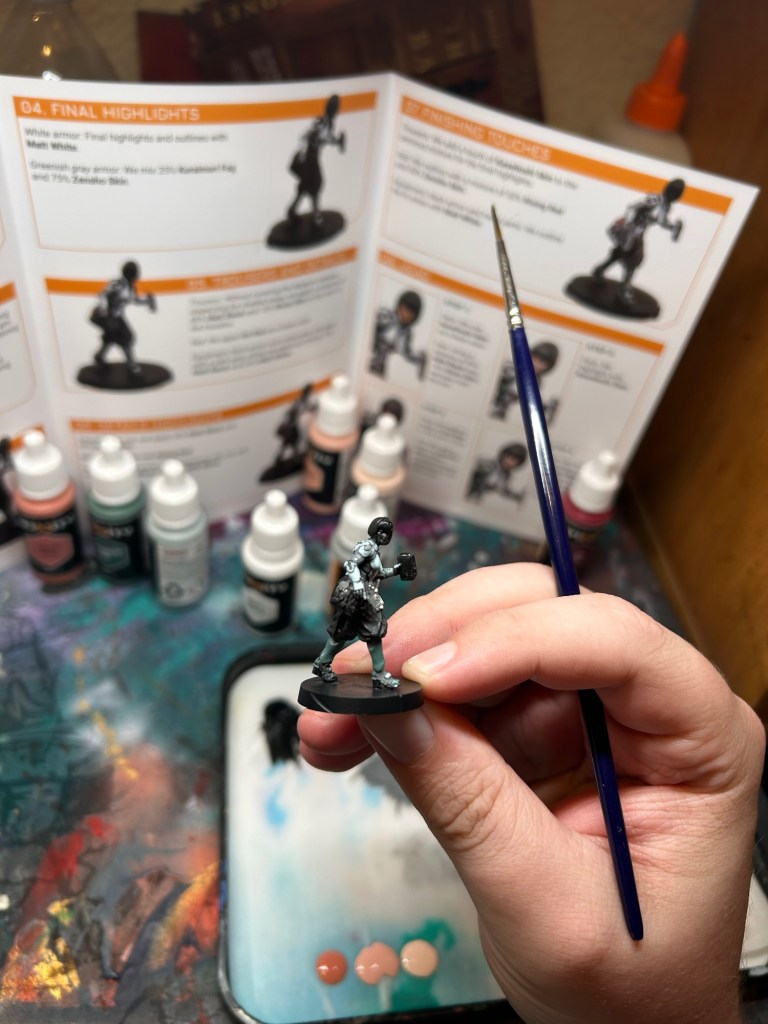
The rest of the details on the model went pretty quickly. A few red accents on the shoulder pads and center of the chest armor were very easy dark red then light red. Something that took me a little more time and proved to be far more annoying were the bags and med-gun. Non metallic metal has always been a pain for me(I struggle to identify my primary light source and stick with it), and I did struggle to get the right contrast for the black leather as well.

As I moved on to painting the face I finally switched from my disgusting size 2 brush to a more detail oriented one. The base flesh tone was VERY thick so I had to really thin it out. Overall the instructions for the face were solid, but the face is quite small so it might be irritating for some people to paint. Especially if you don’t have good brush control or know how to thin paints well. The hair was easy to paint due to the sculpt being great.
The other downside I was dealing with was getting my greasy hands over the model. Some paint was coming off as I was holding the model not by the base. This can be corrected by using a painting handle or possibly using more hardy paints and a better primer.

So now that the model is mostly done I went around correcting some small areas and adding in details that I missed. A fair bit of paint did come off so it was a tad frustrating for me but again, that problem can be easily solved with a better primer.
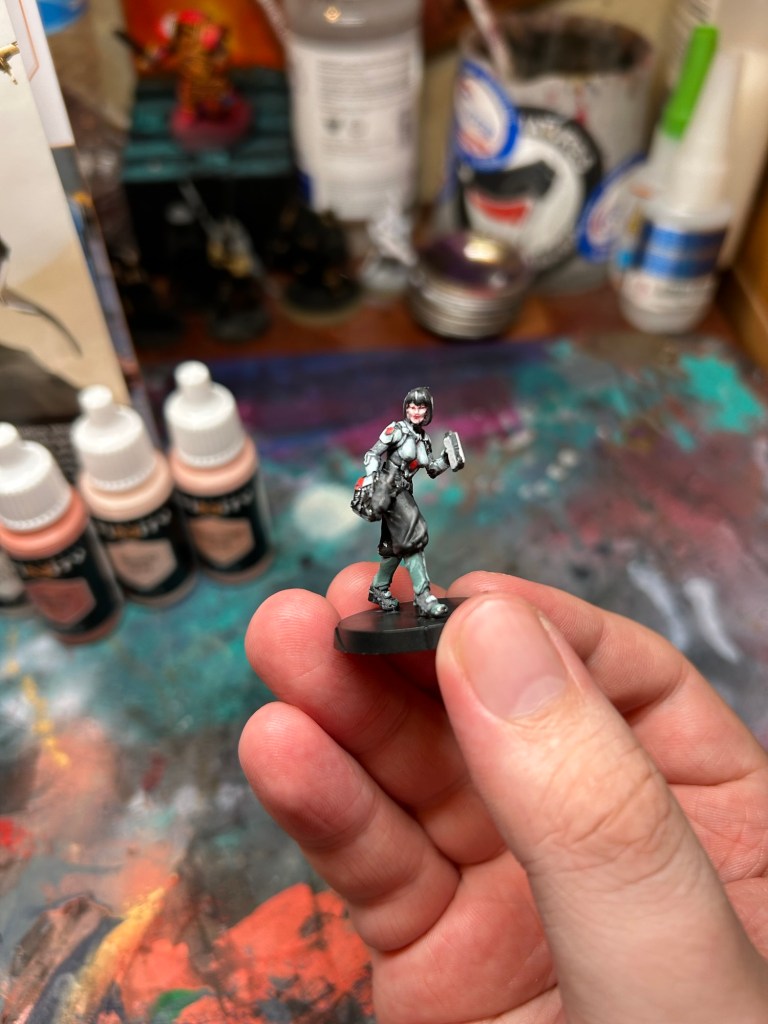
With the model done it was time to check the time. I wrapped up around 4:55 and change, so for an hour paint job I’m pretty happy with the results!
Would I recommend the Army Painter Infinity paint sets? Well it depends on how far down the hobby journey rabbit hole you are. If you only have GW products 100% buy this, throw or sell your GW paints and hop on the better paint train. If you have been painting for a while and already have your paints and tools of choice maybe not. I could see people buying this set to just have a color palette for JSA, but I’d personally recommend getting a brown for the pouches and a few metallic colors rather than messing around with Non Metallic Metals.
As an introductory paint set this is exactly would I would want. Maybe include a brush but otherwise definitely deserving of praise. I hope CB continues to collaborate with other companies to better introduce hobbyists into their style of painting in general.

Leave a comment